Rooted in a patch of brown grass and bare earth, our mailbox wasn’t much to look at. I’ve seen plenty of flower beds planted around mailbox posts, but I wasn’t interested in the extra weeding and upkeep. Instead, I wanted something that would boost curb appeal while tying in with the garden rowboat theme.
Follow the Steps
The materials/items below were purchased for my specific garden theme, but perhaps they’ll help spark ideas for a version that feels right for your own space!
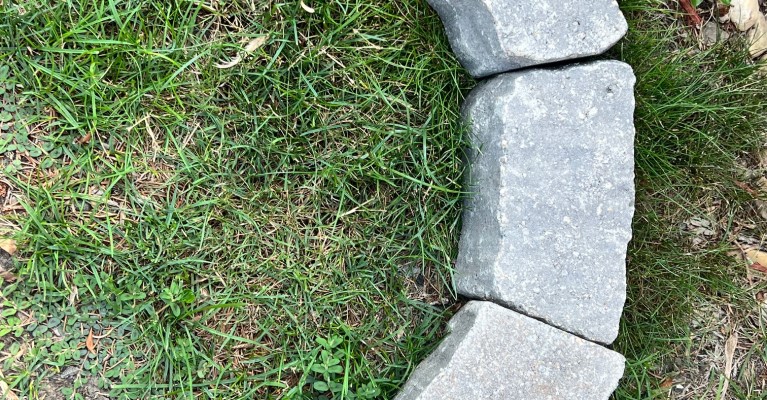
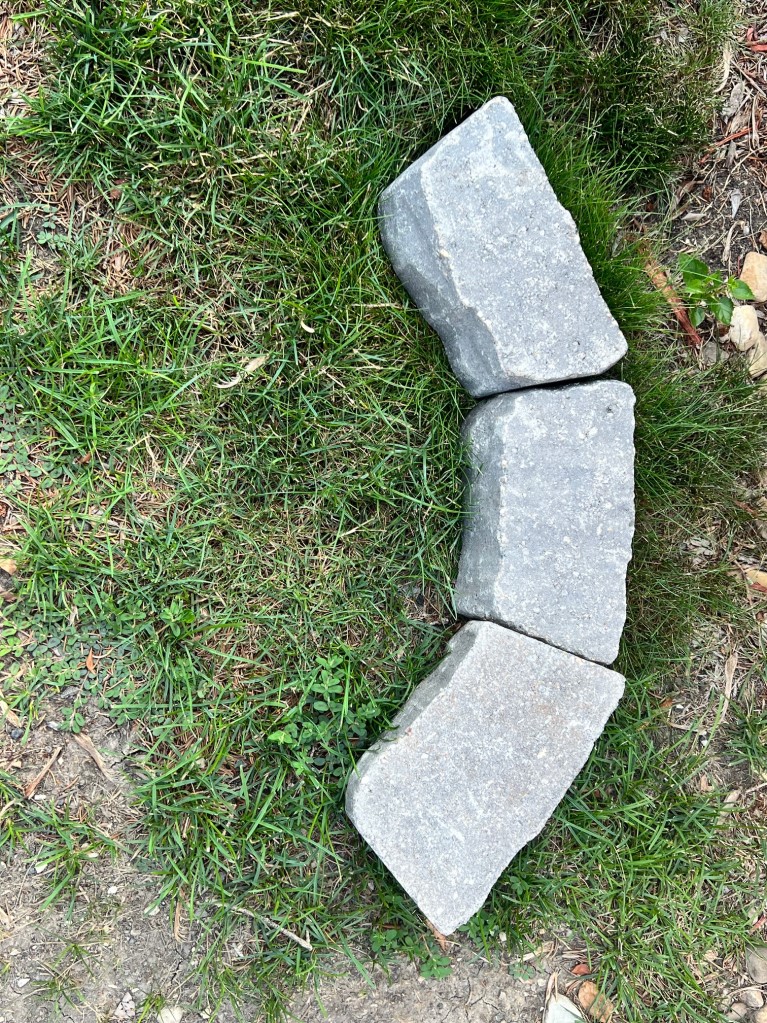
1I decided to create a lake theme to complement my rowboat garden. Now that I knew what I was going to do, it was time to buy supplies. I found some tumbled, curved-edged rocks to border the mailbox area at Home Depot.
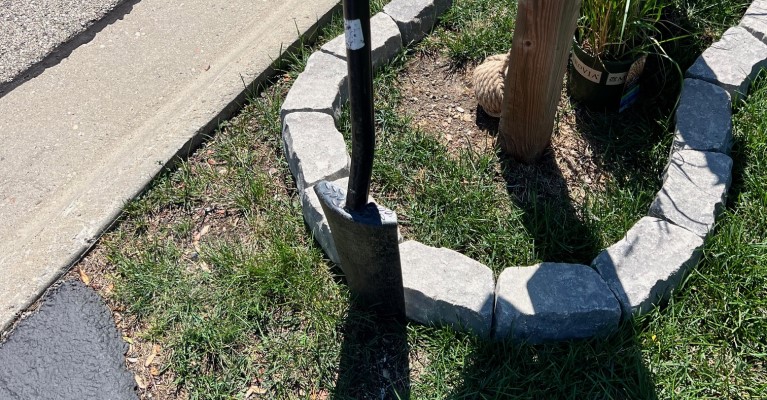
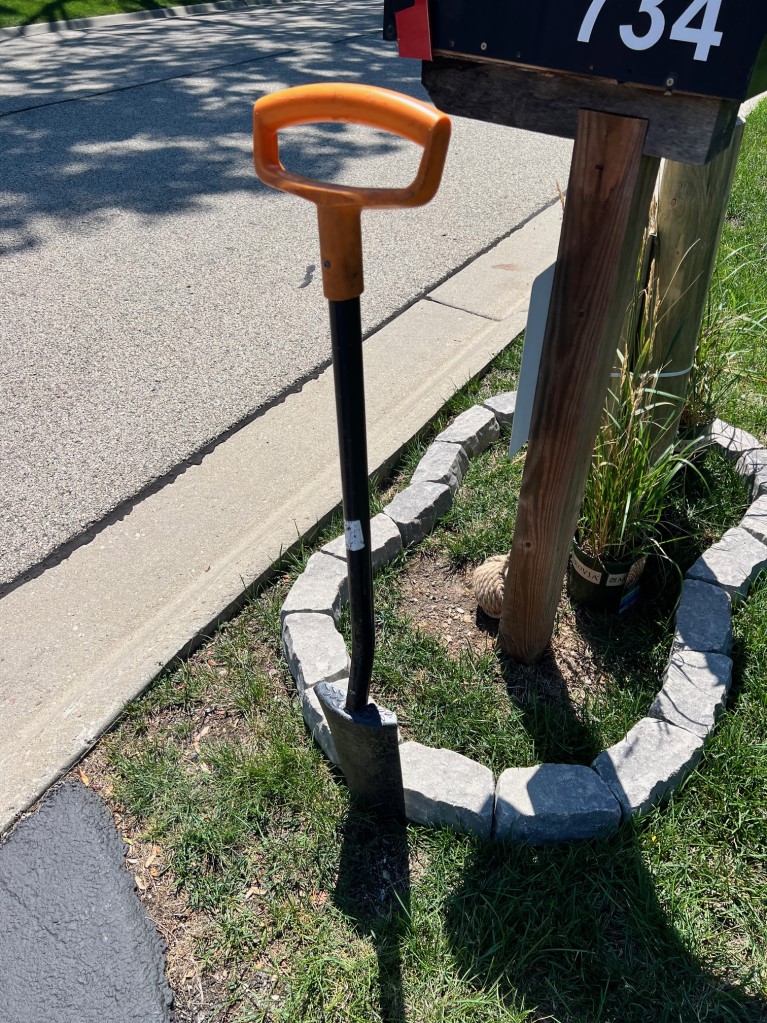
2A border shape was created with the rocks. Then I used a straight edge shovel to push down into the ground just outside the border rocks.
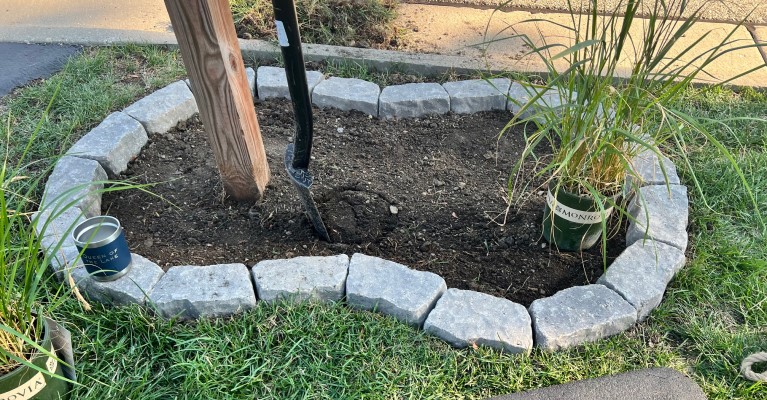
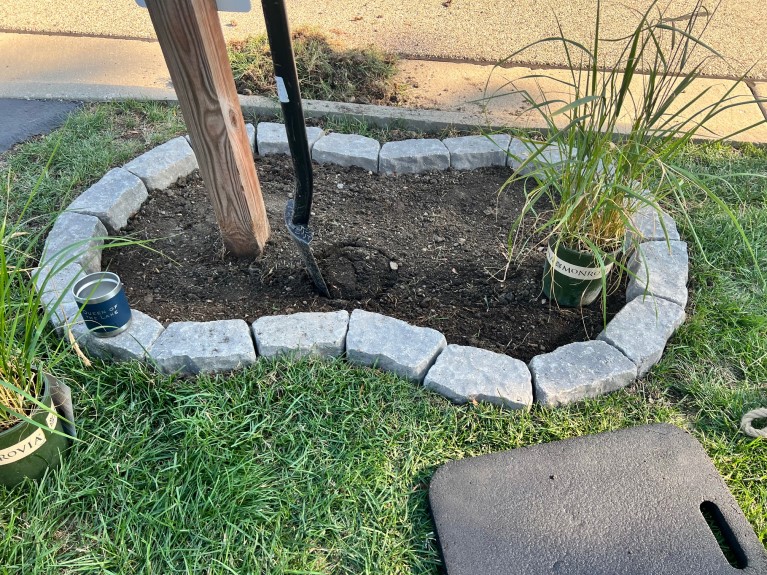
3Next step - everything gets moved out of the way and the grass and dirt are dug out about 2" down and leveled. Border rocks are put back down into the edge to be sure they fit snugly and level. Two ornamental grasses are planted to flank the pilings.

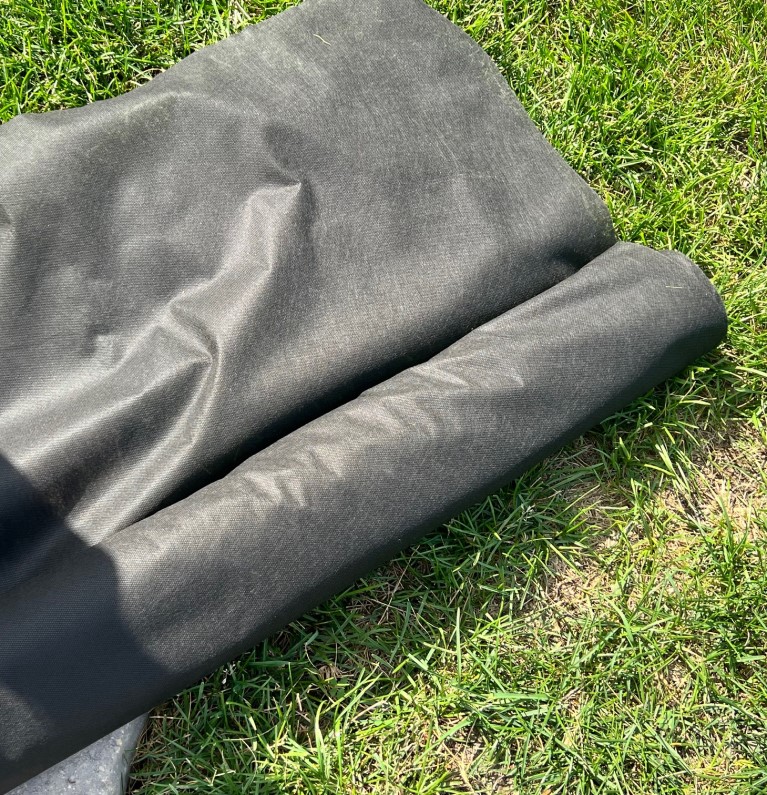
4Now, landscaping fabric is cut to fit the size of the bed and fits under the border rocks. Then I cut out sections for where the grasses will grow. For those unfamiliar with landscaping fabric, here's a quick intro video.
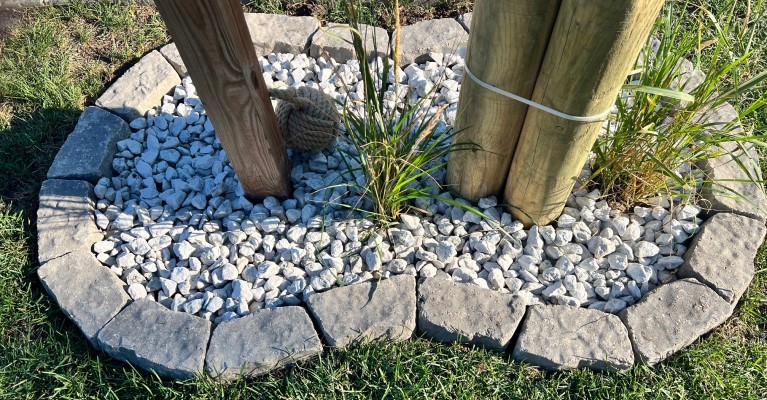
5After the landscaping fabric, I filled the entire bed with white rock from Home Depot.
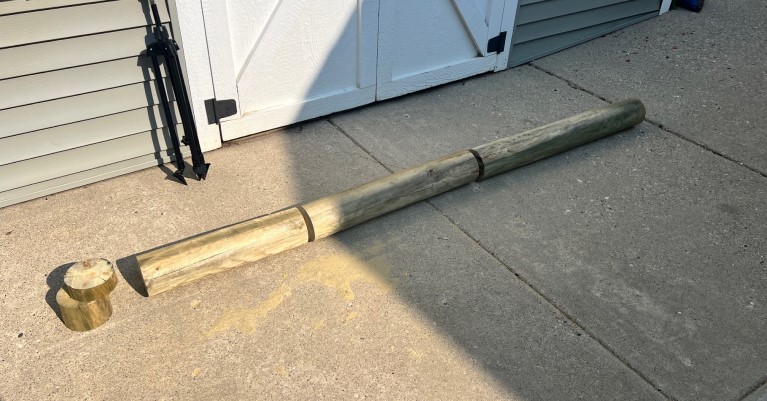
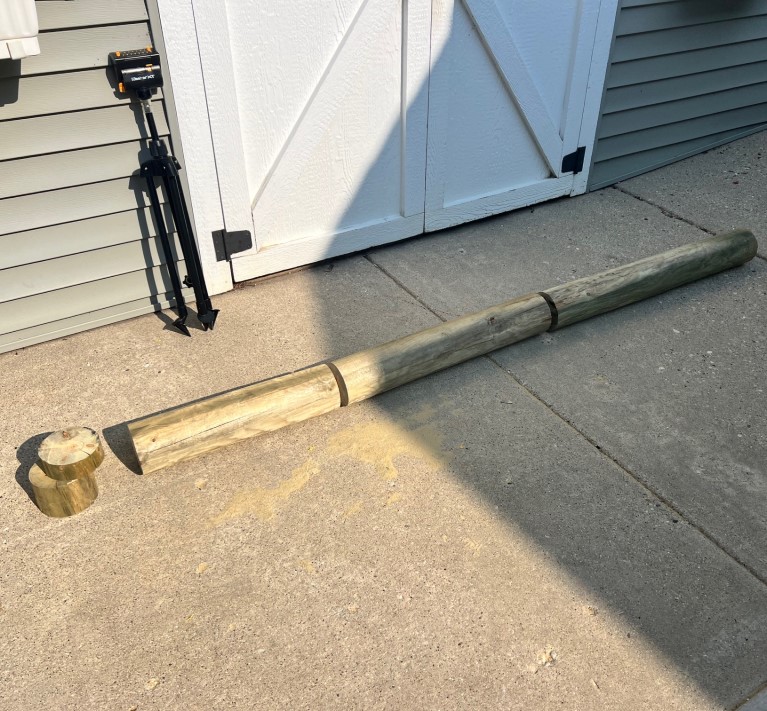
6Now, to create the wood pilings. I needed round wood posts to do this. I finally found what I needed at Tractor Supply, an eight-foot post. Using a chop saw, I cut these into the dimensions I needed for the pilings.
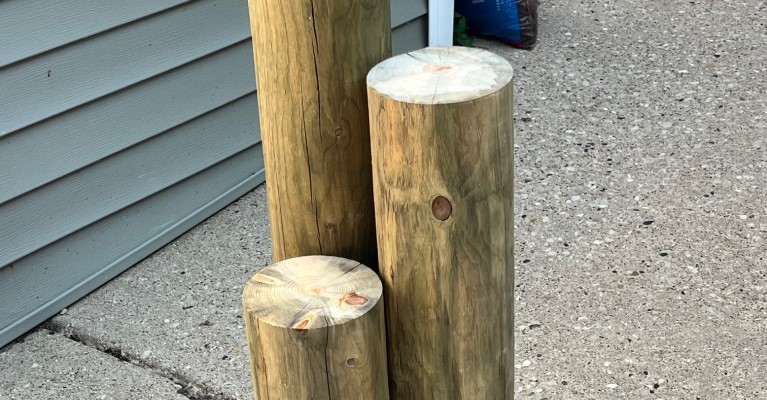
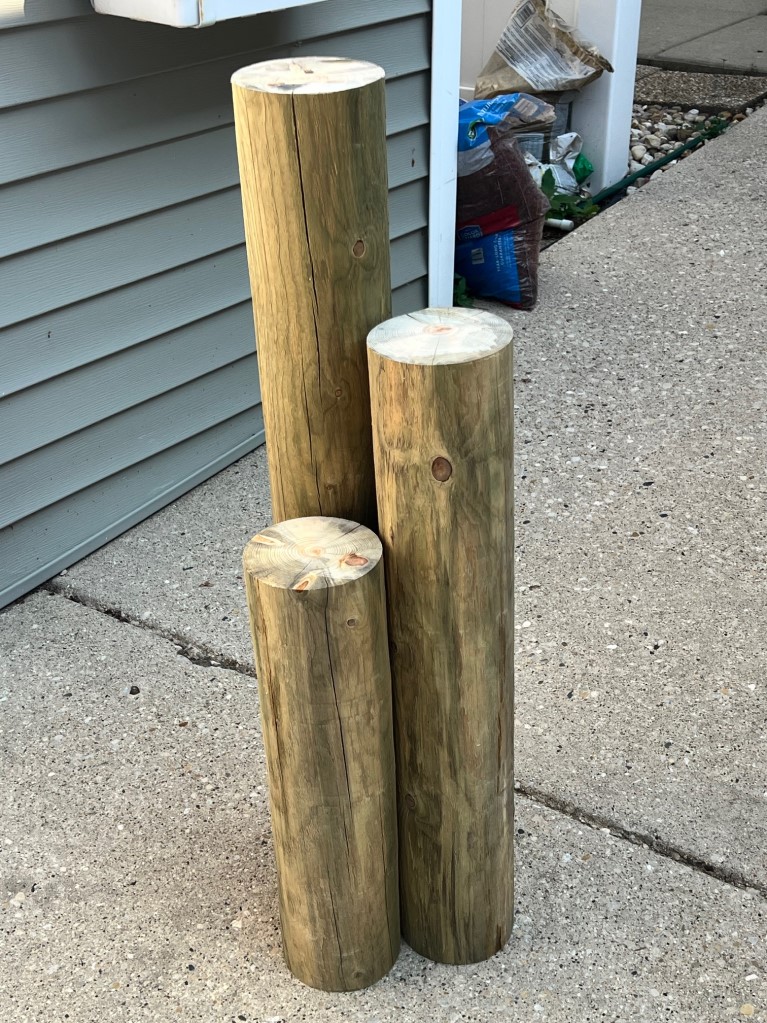
7I made the wood pilings pretty tall, 36, 30 & 24 inches. This way, they balance with the height of the mailbox.
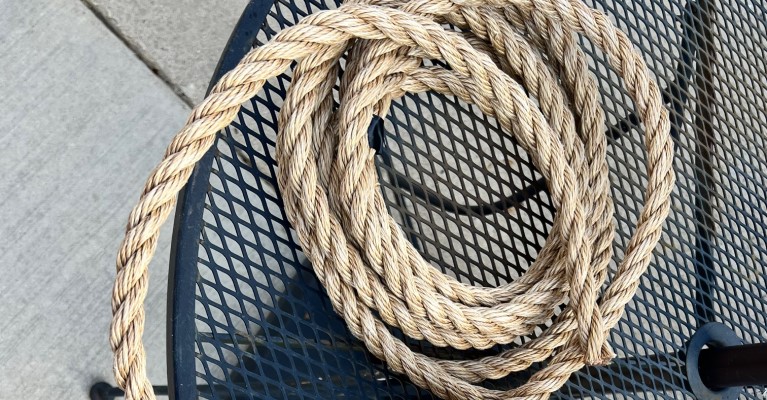
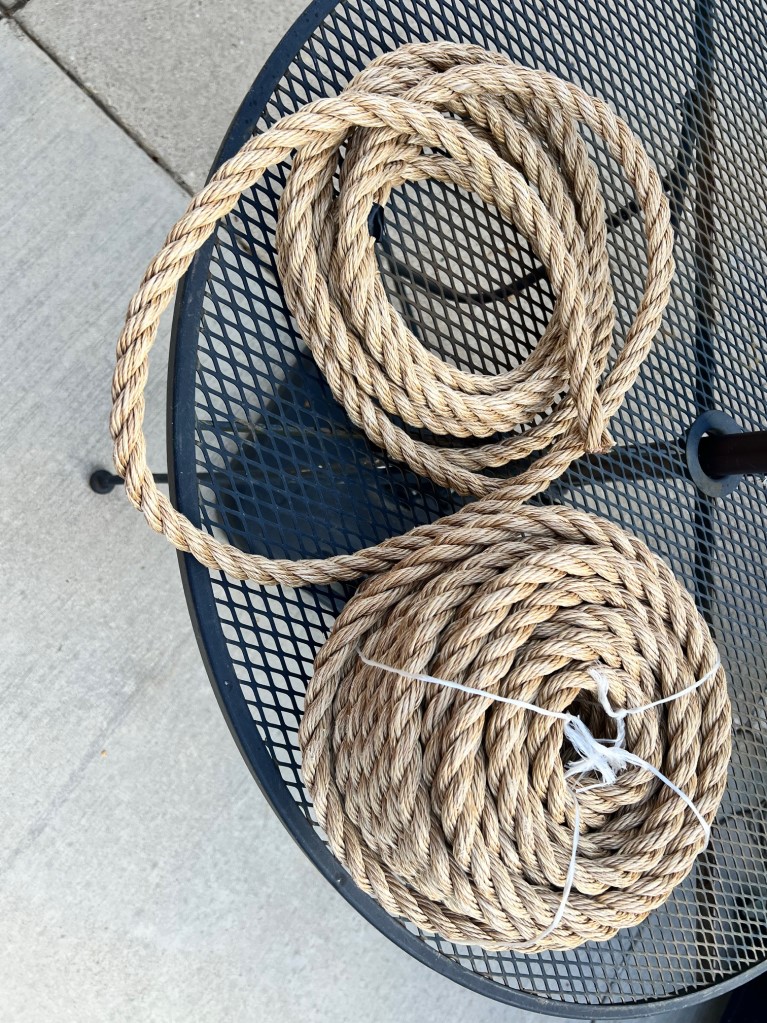
8Rope is needed to wrap around the pilings. You can, of course, use regular jute rope, but I found that after a few years it tends to deteriorate. So, I purchased a treated rope that would last in the elements from Amazon.
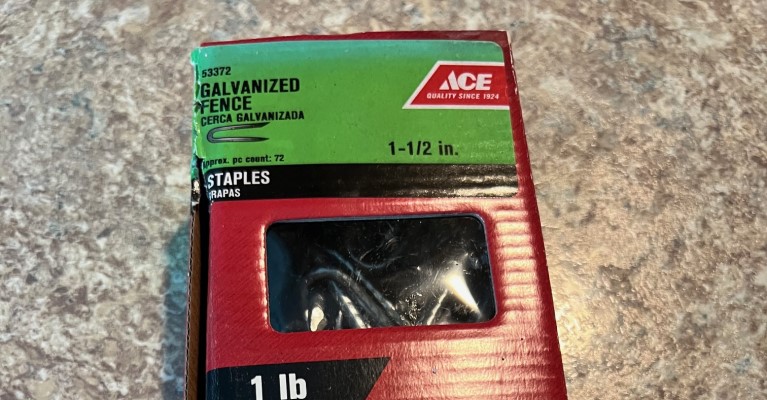
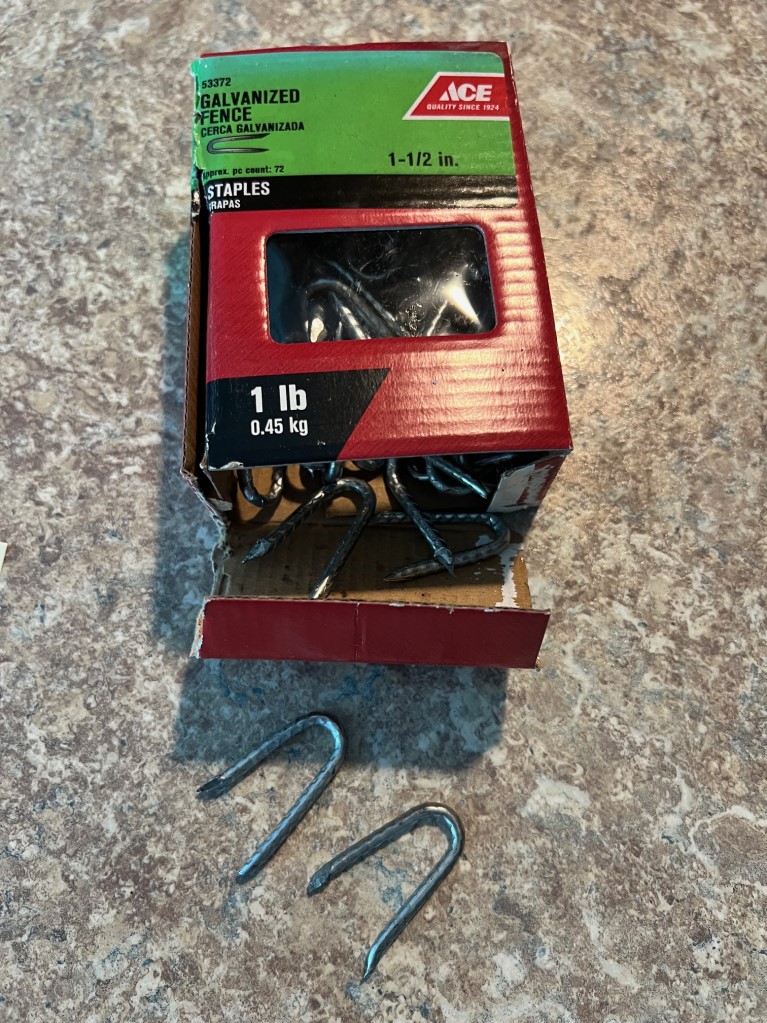
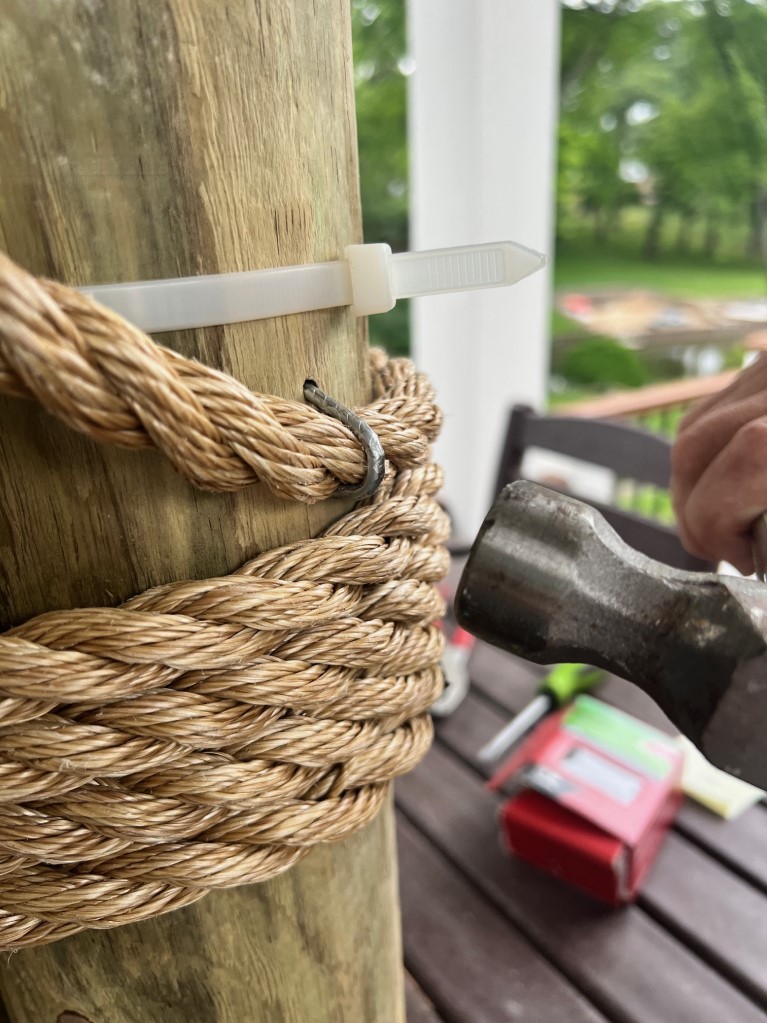
9I used large Zip Ties to hold the pilings together while I figured out how I wanted to wrap the rope. Then, to secure the rope to the pilings so nothing moved, I used galvanized fencing staples that you hammer in around the rope.
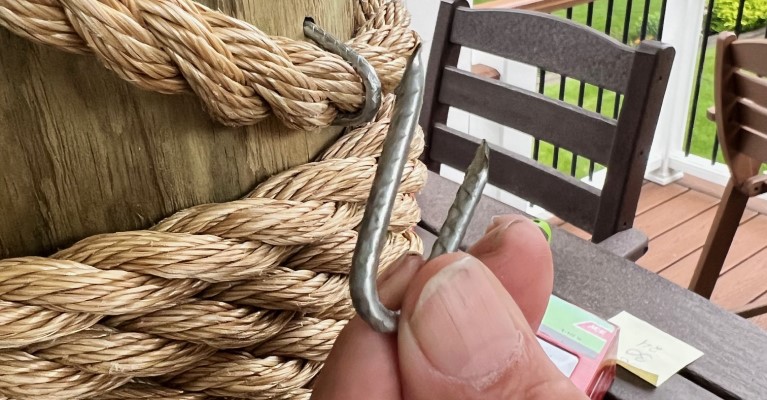
10Hammering these staples in on the backside held the rope tight and out of sight.
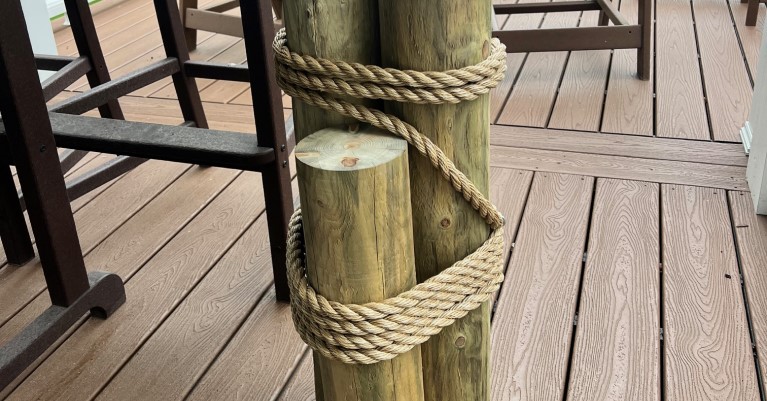
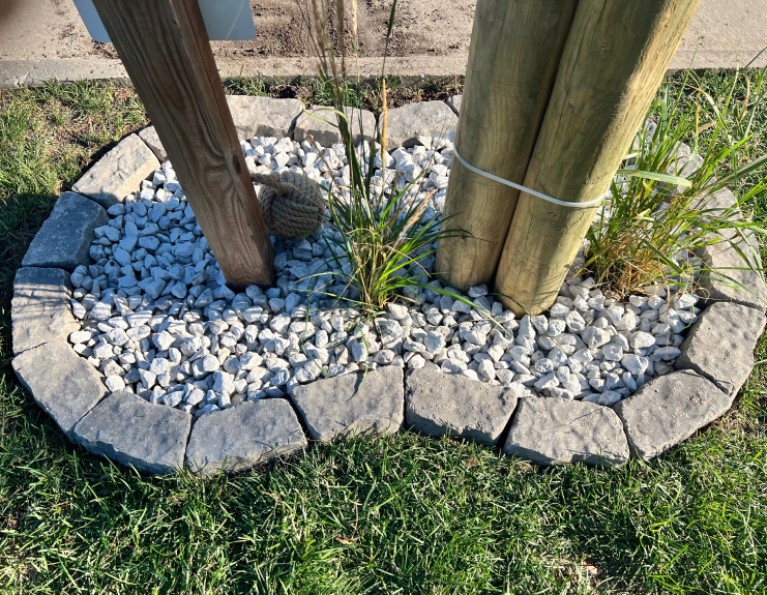
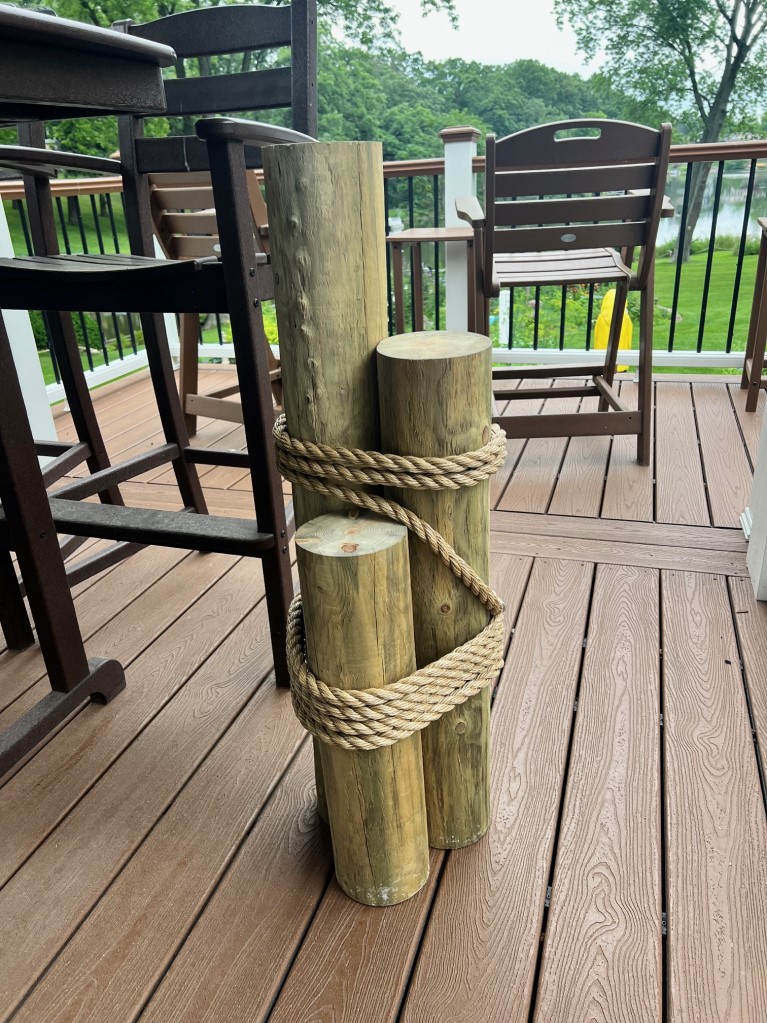
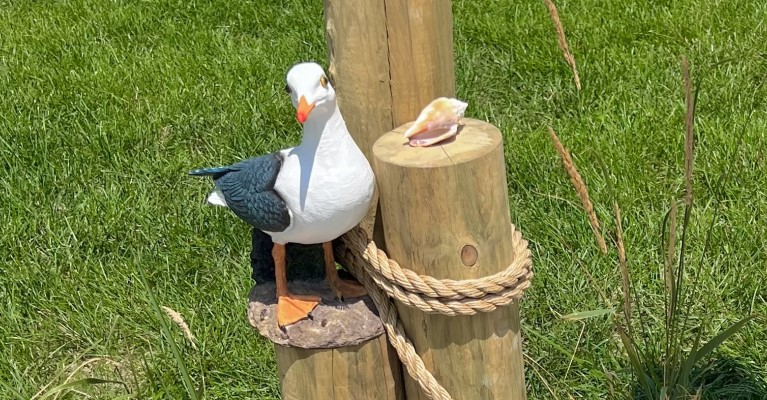
11The pilings are now wrapped and secured with the rope and ready to go.
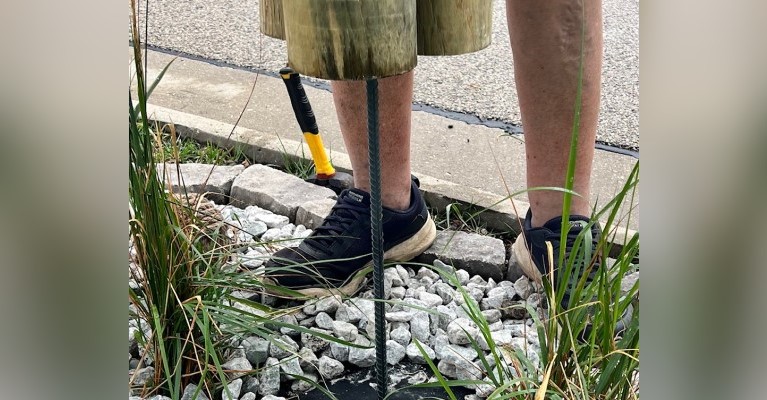
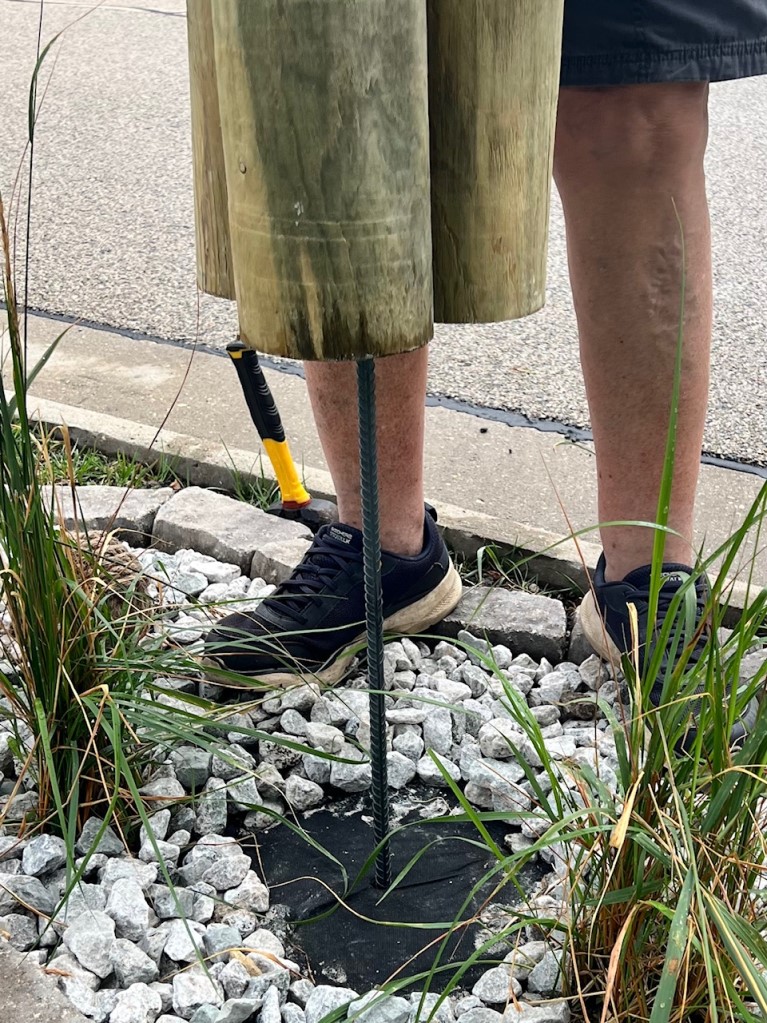
12I purchased a rebar stake (in landscaping, a steel rod for ground anchoring and support) to drive into the ground where the pilings will go. Then, slid the center of the pilings down on the rebar. This will keep it stable and secure.
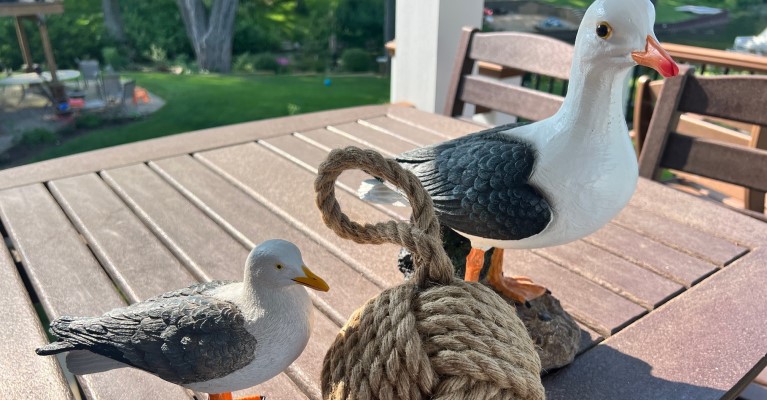
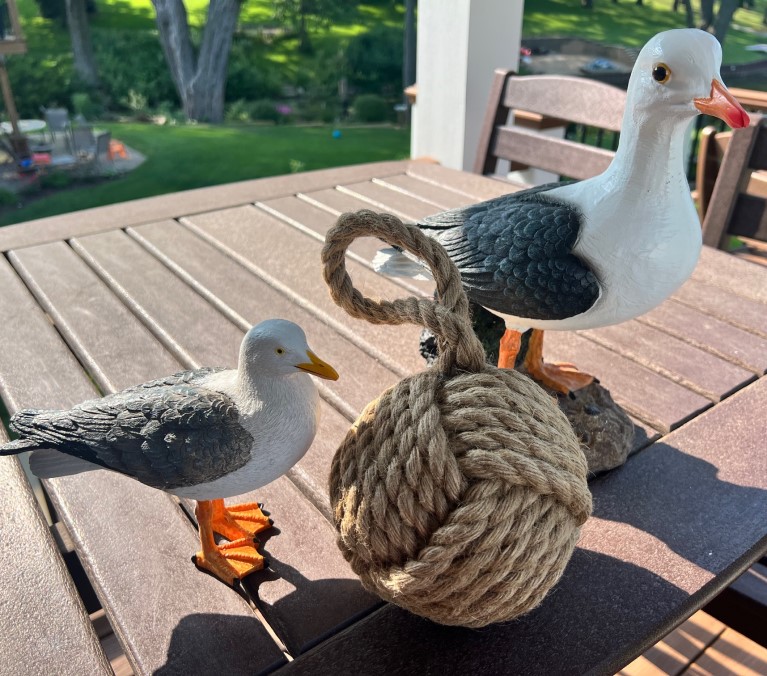
13Time to add the accent pieces. I purchased 3 resin seagulls of different sizes, a rope ball, and a wooden fish stringer from Amazon (see materials list above). I also added some of my extra large seashells.
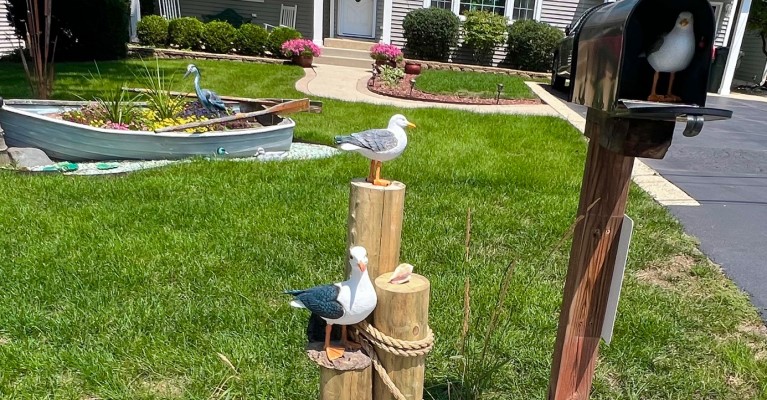
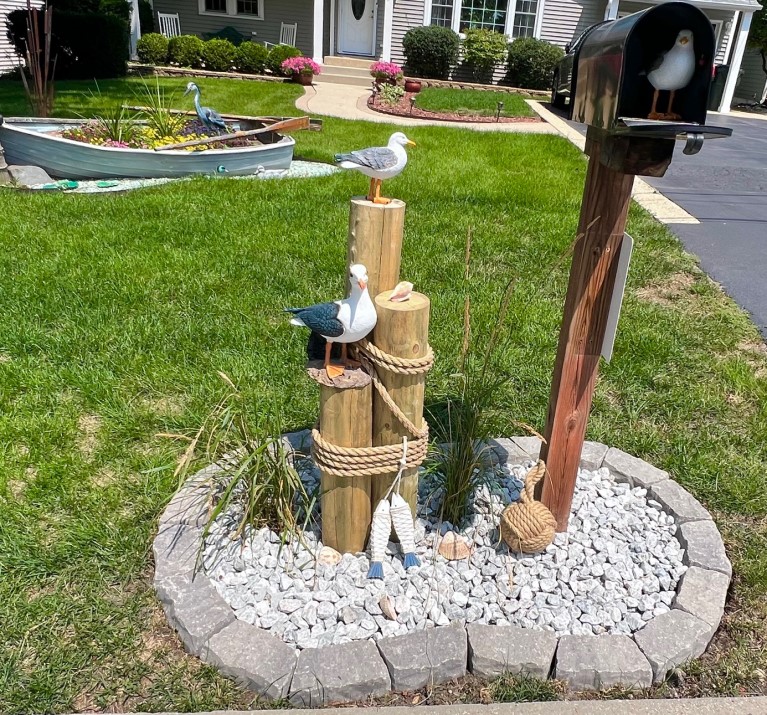
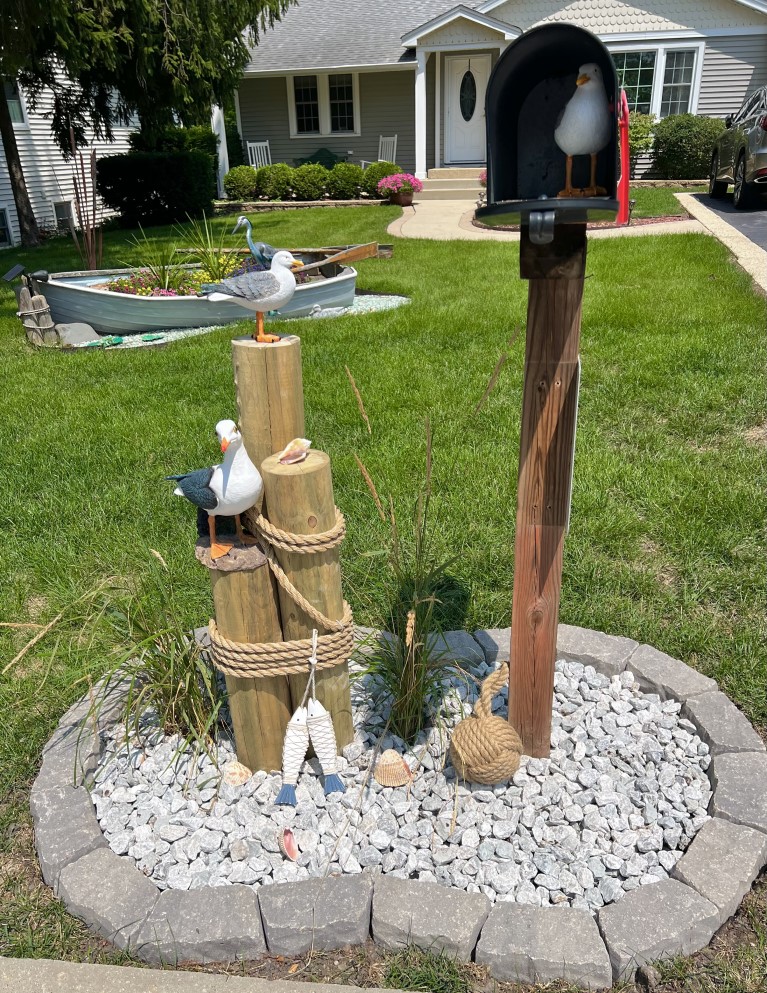
14Put altogether, it looks just like I envisioned! I added one of the small seagulls inside the mailbox to amuse the mailman.
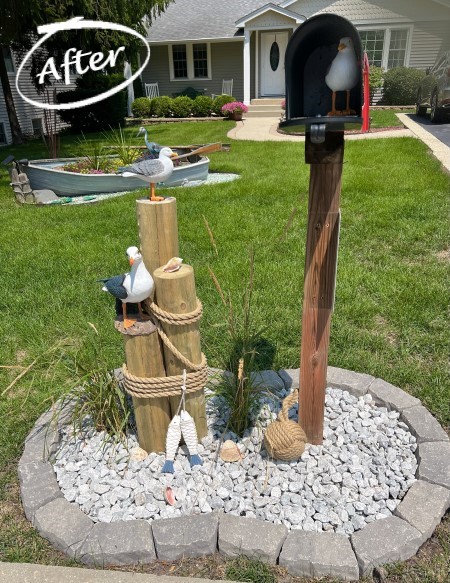
15It works so well with the rowboat garden in the background. Now there is complete appeal from curb to house !
This makeover was planned with our garden boat planter in mind - together, they create a unified scene. Visit the Boat Planter page for a closer look.