
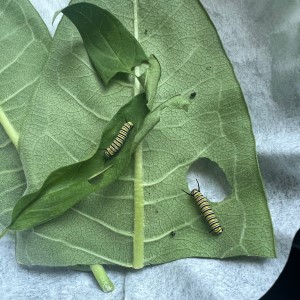
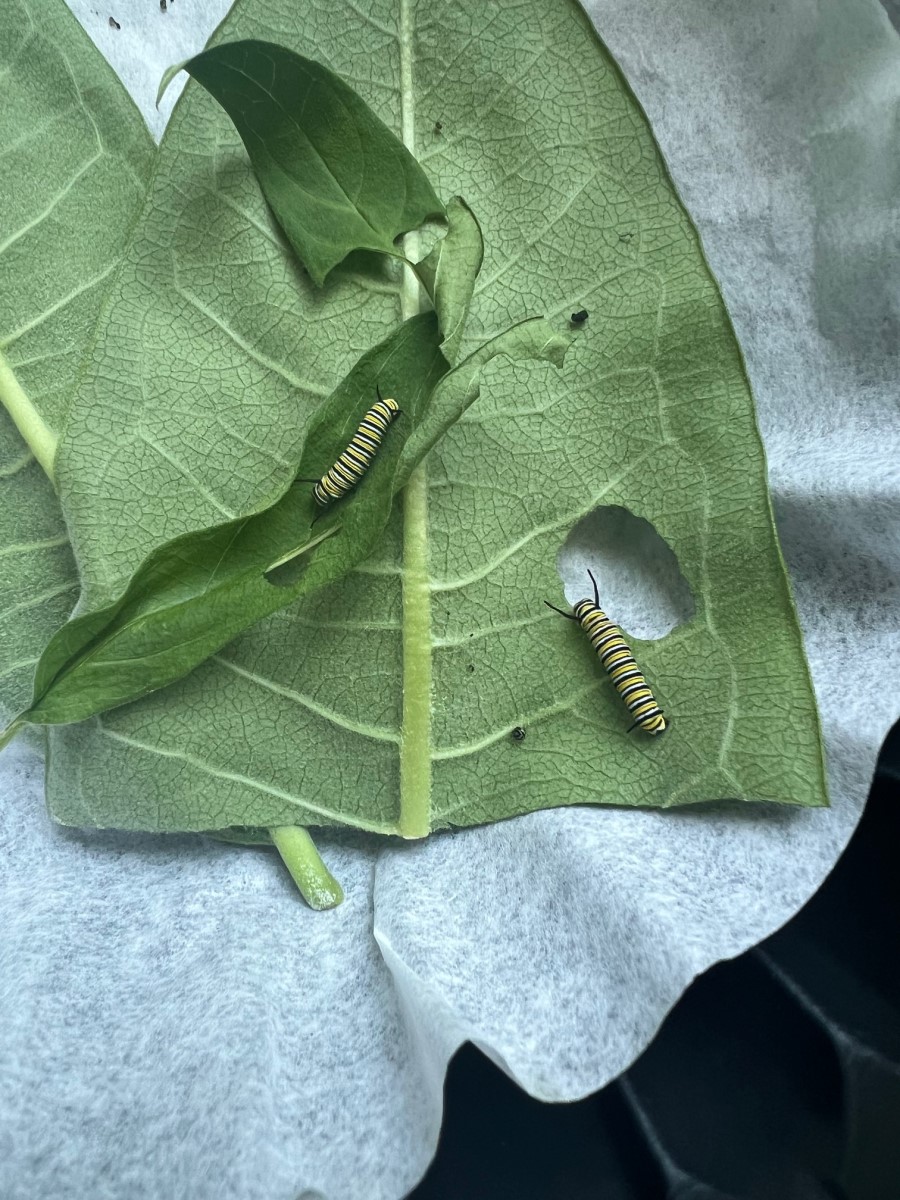
Now that I have hatched caterpillars, I start separating them into new rearing containers — two caterpillars of similar size per individual container. I don’t want to put a large, hungry caterpillar in with a tiny one. If there are more than two on a leaf, I cut off a section of that leaf and place it on a fresh leaf in another container.
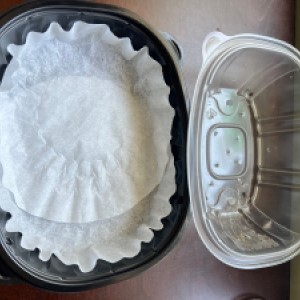
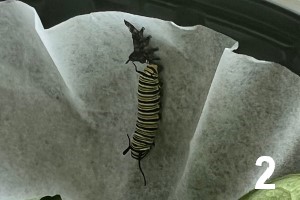
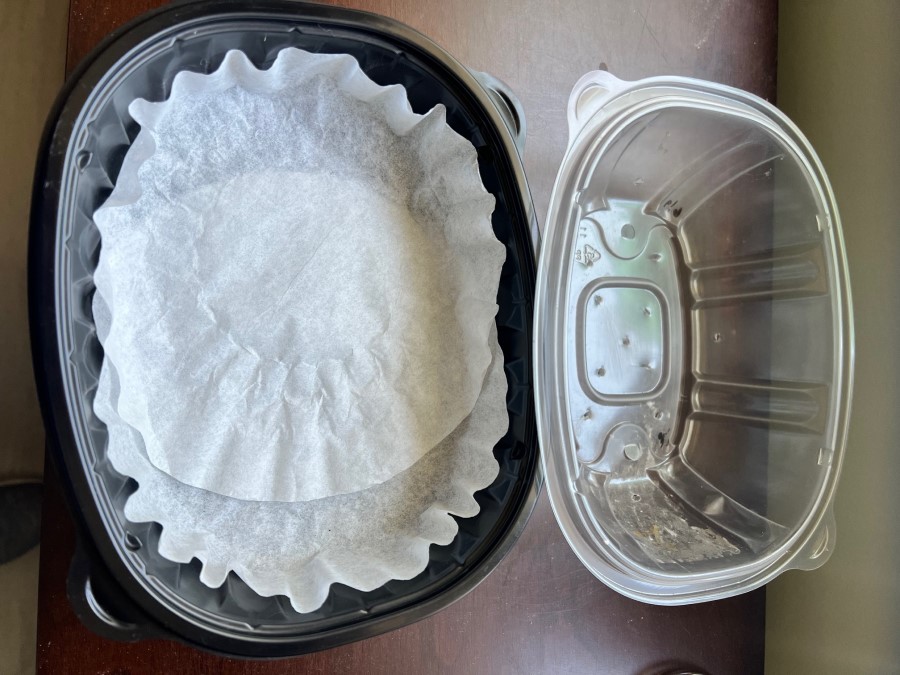
I line these rearing containers with coffee filters, using two together to cover the bottom. As the caterpillars eat and poop, this makes cleaning much easier. I simply lift the caterpillars on their leaf, set them in the container lid, and dump or shake out the poop (frass) while holding on to the filters. If the coffee filters are actually soiled, I swap them out for new ones. When the caterpillars are small, you won’t have to clean as often, but once they are large, you’ll need to do this at least twice a day.
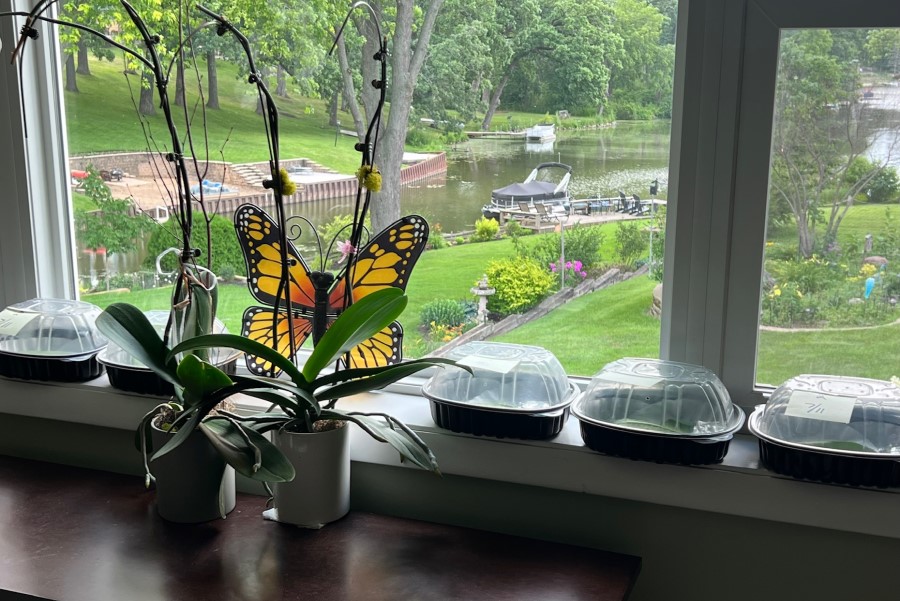
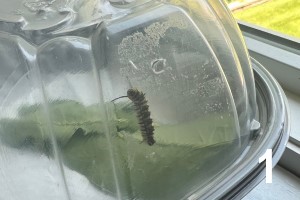
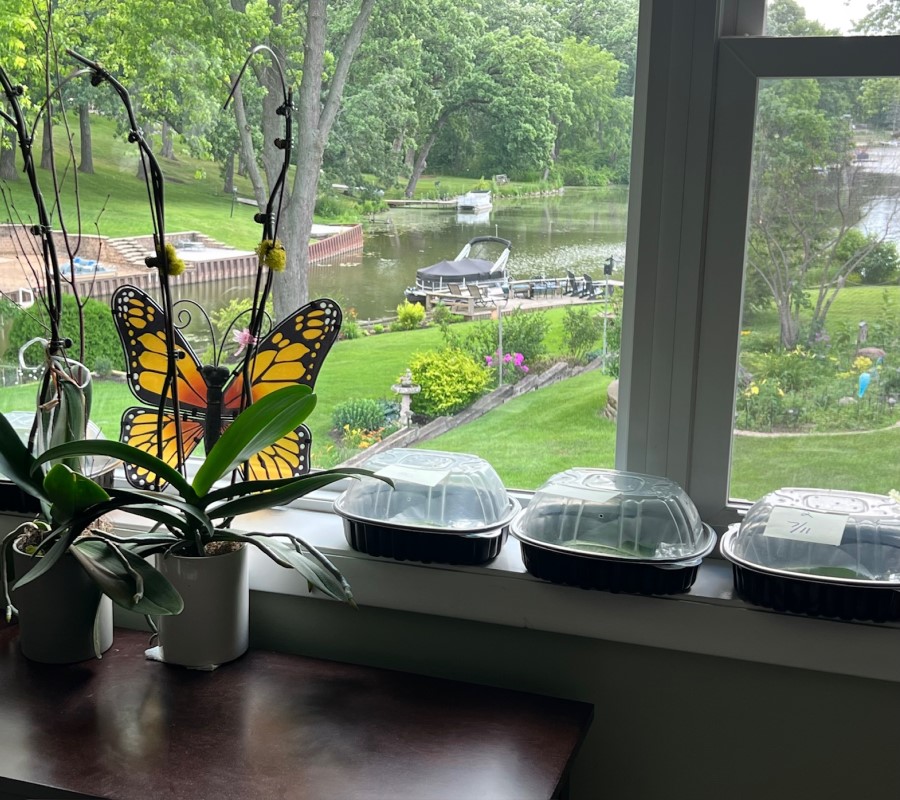
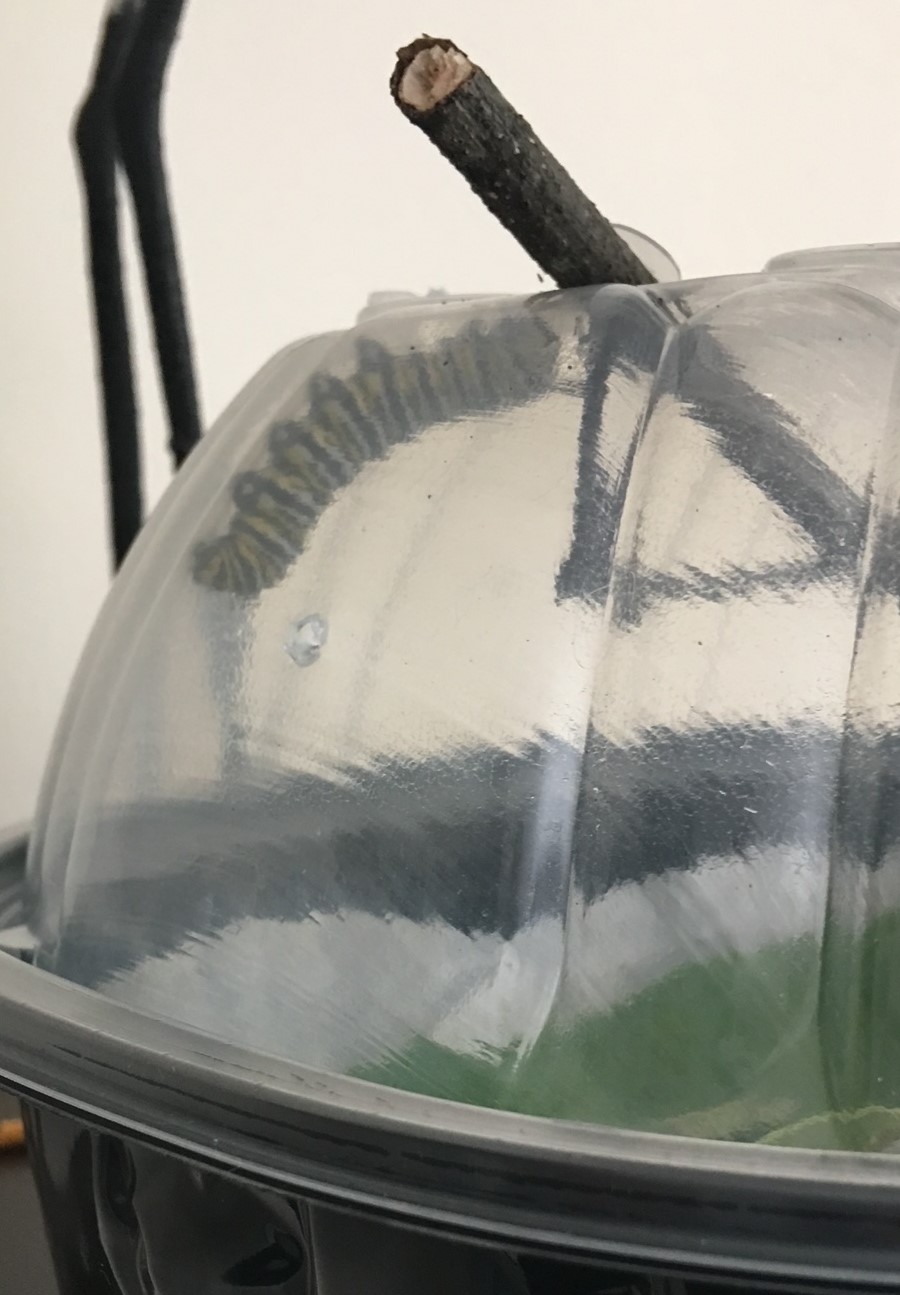
These rearing containers should be kept near a window with indirect light. Caterpillars absolutely need to experience natural day/night cycles.
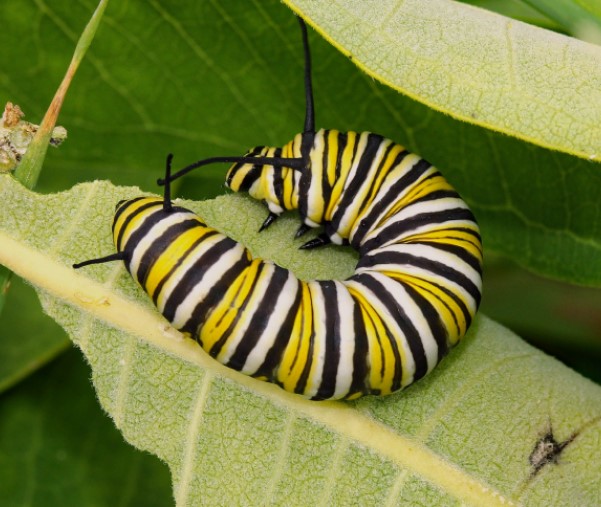
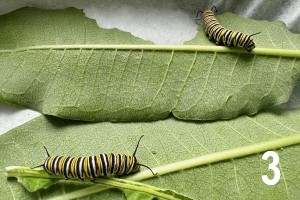
The caterpillars start out eating slowly when they are small and should be given smaller, more tender leaves. Once they are larger, they will begin going through a bigger leaf—or even several leaves—a day. Be prepared to harvest clean leaves to store as food. Monarch caterpillars typically eat, molt (shed their skin), and grow for about 10 to 14 days before moving on to the next stage.
Five stages (instars) of growth
The amount of growth between each molt can be pretty impressive. The graphic below shows the proportional growth between stages, not the caterpillar’s actual size (the approximate measurements for each stage are listed under the illustration). Also note the relative lengths of the front tentacles — one of the best ways to identify the instar of a caterpillar.
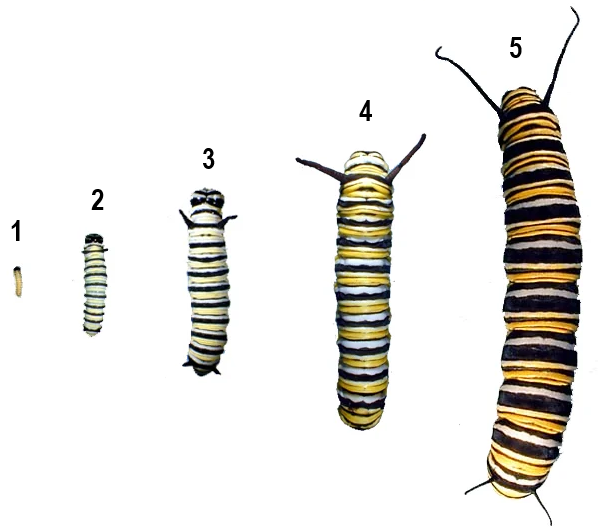
Approximate lengths:
1st instar: 2–6 mm ·
2nd: 6–9 mm ·
3rd: 10–14 mm ·
4th: 13–25 mm ·
5th: 25–45 mm
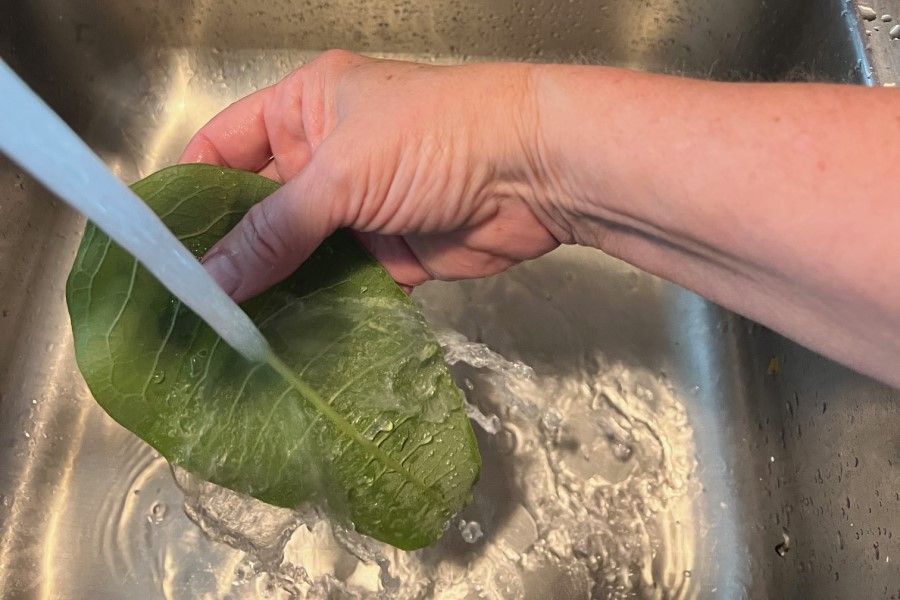

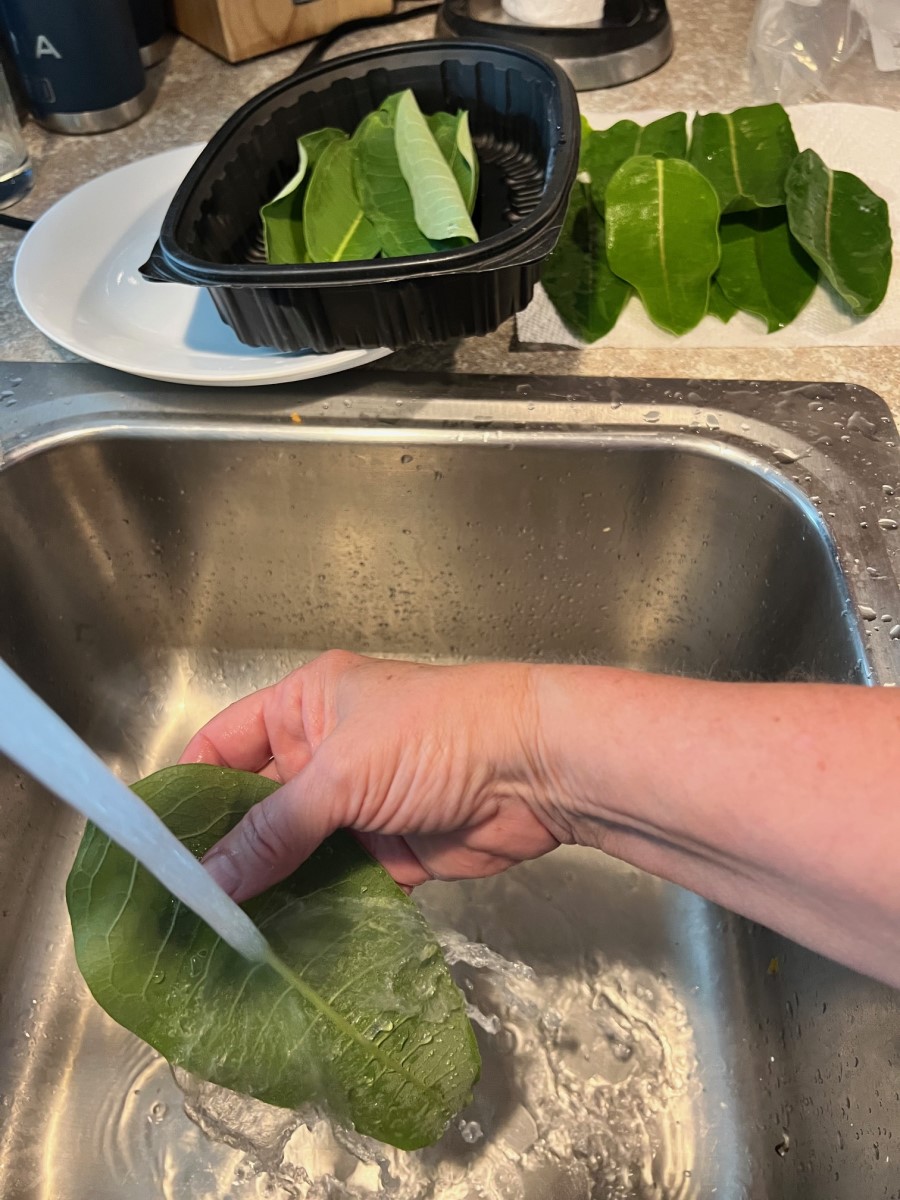
Milkweed leaves are the ONLY food source for Monarchs. For backup, I gather 6–7 medium leaves (checking first for eggs). If there are aphids or debris on the undersides, I brush them off with my fingers. At home, I rinse both sides under room-temperature water, running my fingers along to be sure they’re clean, then let them drip-dry on paper towels. Afterward, I wrap the leaves in a damp paper towel, seal them in a large freezer bag, and store them in the fridge (NOT the freezer). They’ll usually keep for about a week. Before feeding, let the leaves sit out a bit so they’re not too cold. And always wash your hands afterward—the white sap can irritate skin.
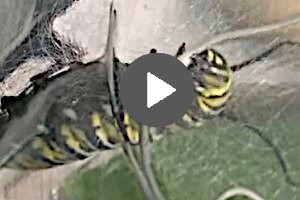
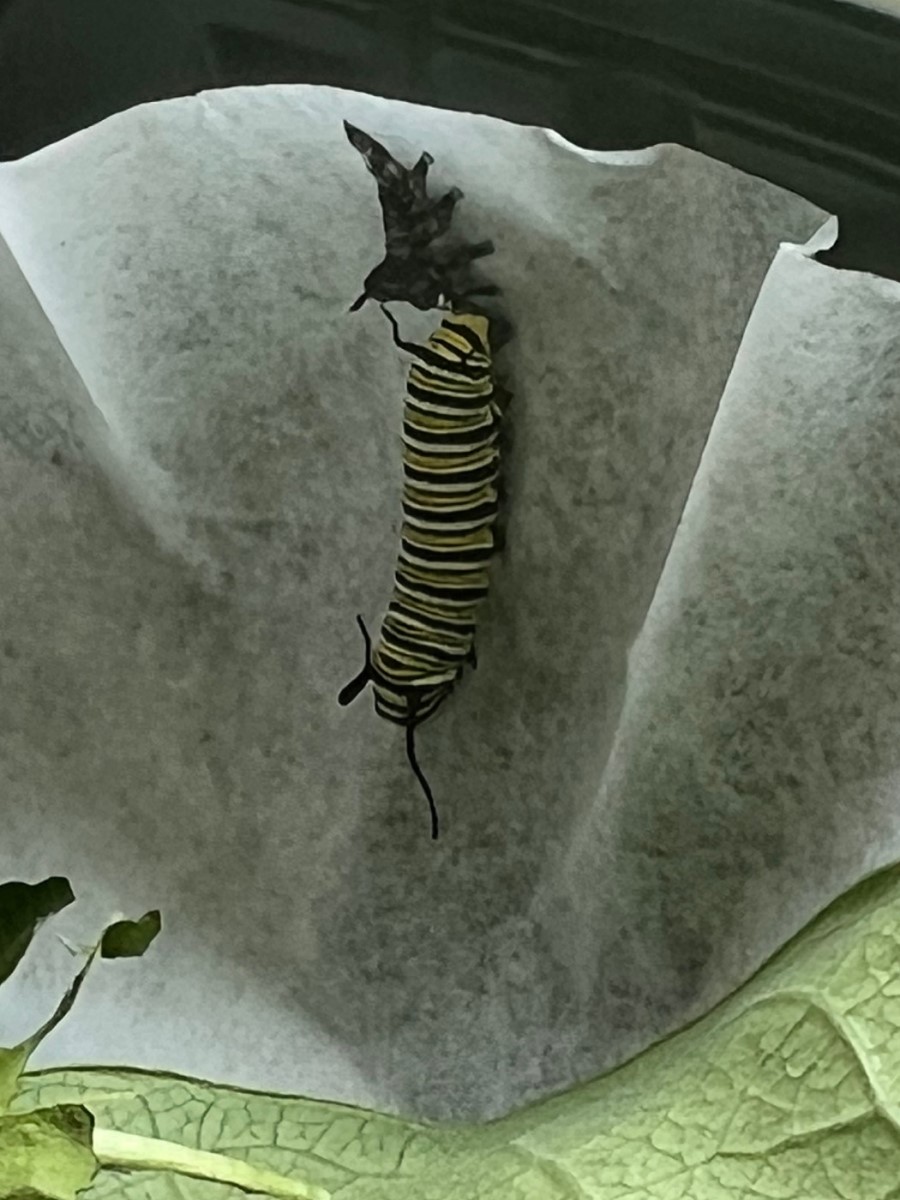
A caterpillar goes through several molting phases as it grows. You may notice it (1) climbing up the sides of its container and resting there for a while. Eventually, it begins to shed its outer skin so it can grow larger. (2) You might see a little black trail behind it during this process, but you usually won’t find the discarded skin — it serves as a food source for the caterpillar. (3) Afterwards, it will crawl back down to its leaves and start eating again. Note: You can still clean the container while it is shedding, just carefully lift the lid and keep it upright so you don’t disturb it up there.
Checking your containers daily is essential
It’s essential for cleaning, keeping count of who’s inside, and making sure the leaves haven’t wilted or gone bad. If leaves no longer look fresh, replace them right away. As the cats get bigger, I suggest checking at least twice a day — especially first thing in the morning. More than once, I’ve found my larger caterpillars just clinging to bare stems because the leaves were demolished overnight.
Another reason to check your containers is to watch for any signs of a caterpillar acting strangely — vomiting green, showing deformities, or having sudden drastic color changes. If you see this, separate that caterpillar (and its leaf) into another container right away. The remaining caterpillar should also be placed in its own container, just in case it was exposed as well. Before reusing the original container, make sure to wash and disinfect it thoroughly.
BEEN THERE:
I’ve had one or two instances like this in the past, before I learned what I now know. I had accidently given two caterpillars leaves
that had been exposed to a yard bug spray. As they ate, the poison attacked their nervous systems — they thrashed about, spewing green vomit. They didn’t survive and it was a hard lesson learned.
Now I only take leaves from my own plants and wash them before giving them to my cats.

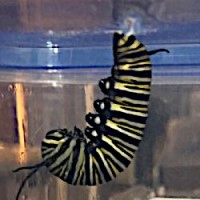
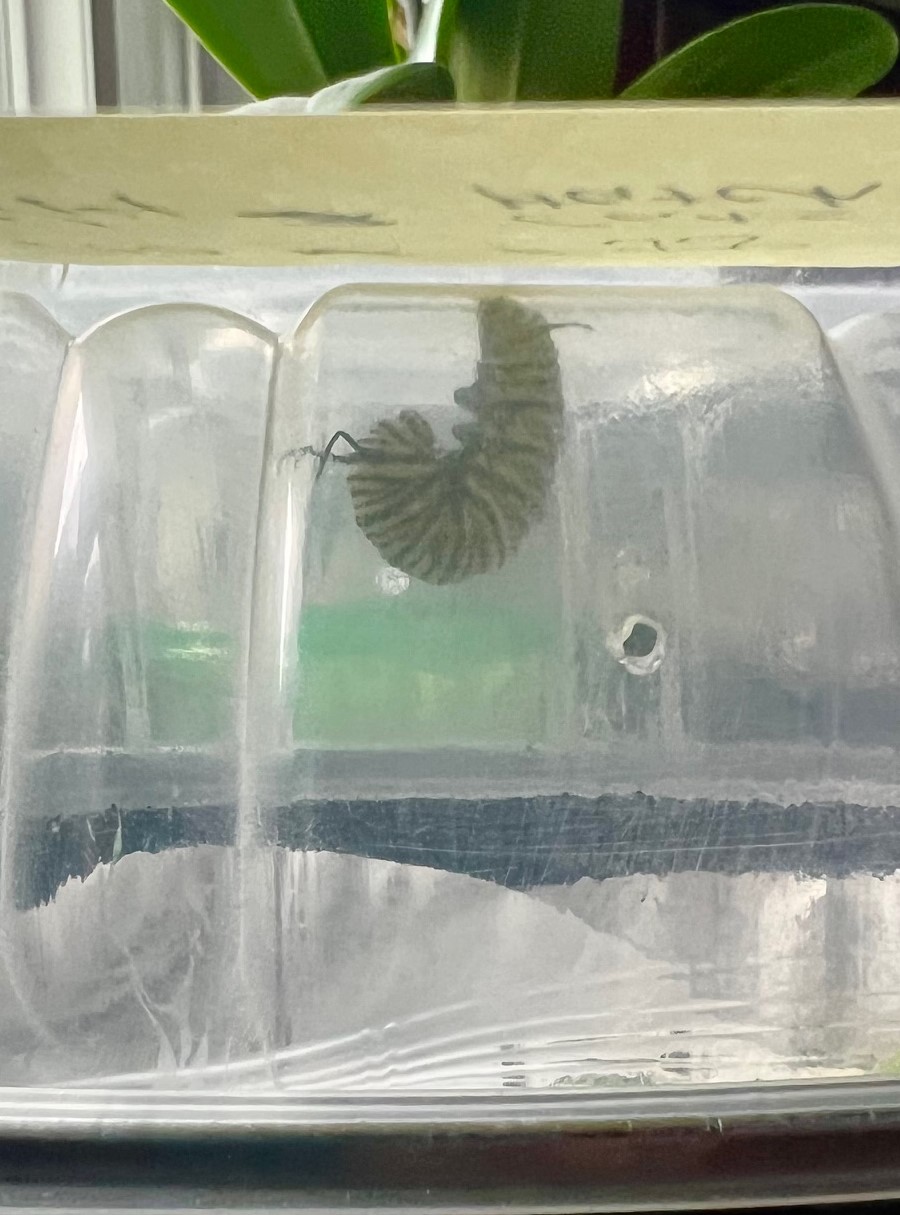
The next phase for your caterpillar is when it does the J Pose - the J-shaped posture of the caterpillar just before it forms a chrysalis.
Internally, the caterpillar knows it’s time to stop eating and prepare for the next stage of its life. You’ll often see them climbing the sides of the container and roaming across the top, looking for the perfect spot to spin their silk “button.” This little anchor is where they’ll attach by the rear and hang upside down in that classic J-shape.
If you’re lucky enough to catch them in the act, you’ll notice their heads moving back and forth as they carefully spin their silk (see video above). But more often, you’ll check in one day and simply find them already hanging in their J Pose.
OBSERVATION:
Over the past several years, I’ve noticed something interesting—at least 80% of my caterpillars head to the top of the container and choose a spot underneath one of my Post-its to J Pose. My guess is that they’re
instinctively seeking protection, just like they would under a leaf outdoors. Somehow, that Post-it must feel like a safe little shelter.
Once a caterpillar is in J Pose, it’s best not to disturb them — the process is delicate. If bothered, they’ll curl up tightly until they feel the threat has passed. If you’re raising two caterpillars of the same size or age, you’ll usually see them entering this stage within a day of each other. So this is not the time to clean the container. Let them finish transitioning into a chrysalis first. After that, you can safely open the container without risk.
They’ll remain in J Pose for about 12 to 24 hours before beginning the next stage.

Here comes one of the most fascinating phases — when they transform from the J Pose into a chrysalis. If you catch them in the act, it’s a must-watch!
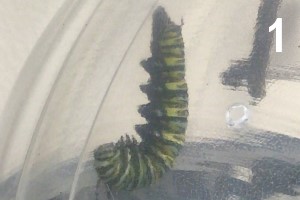
(1) You’ll know your J Pose caterpillar is ready when it begins to lose the J shape, relaxes, and lowers its head almost straight down.
Soon, you’ll see it start contracting its body. (2) At the very bottom, near its head, a bright green blob will begin to push its way out.
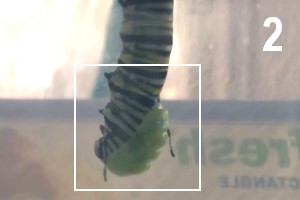
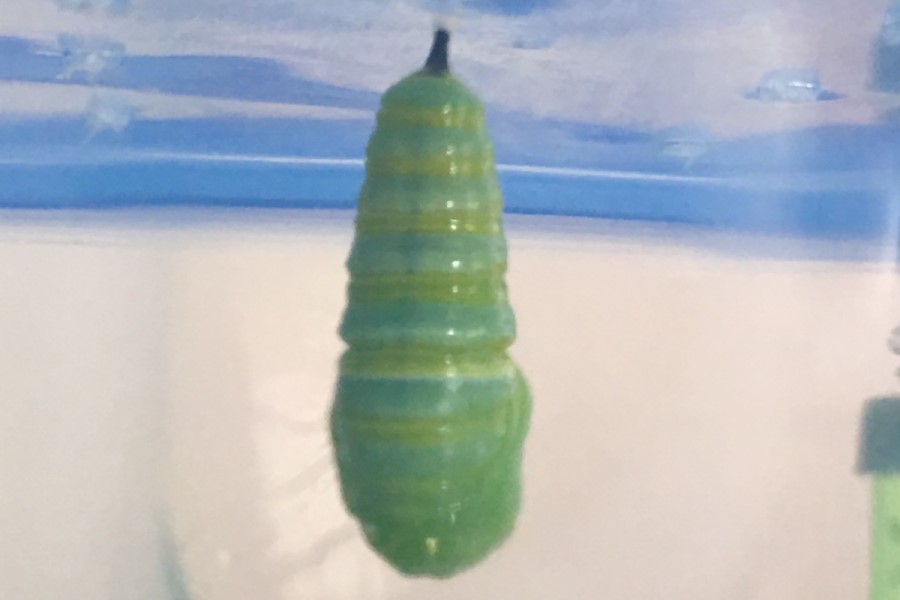
It’s amazing—this caterpillar that was crawling and eating just a day ago now completely sheds its body, head, legs, antennae, and all! I find it very alien-like. The contractions continue until the soft green chrysalis is fully visible. (3) Then it hangs there, wiggling and wriggling until the last bits of skin are knocked away.
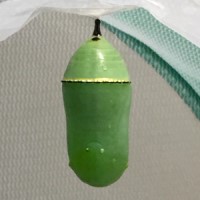
While in this soft chrysalis stage, it slowly contracts upward into the traditional chrysalis shape. Do not attempt to move or touch a chrysalis at this stage—it’s still soft and could be damaged. Once the process is complete, I allow at least 24 hours for the chrysalis to harden. It will then resemble the hard shell of a peanut M&M. Your chrysalis should be a beautiful, bright green with a ring of gold beading around the top.
Now we can move on to the next chapter: safely relocating the chrysalides into a netted enclosure and anticipating emergence.
Plenty of indirect light for the rearing containers.
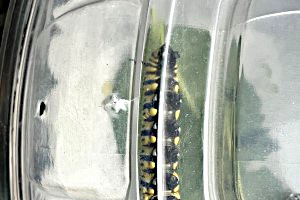
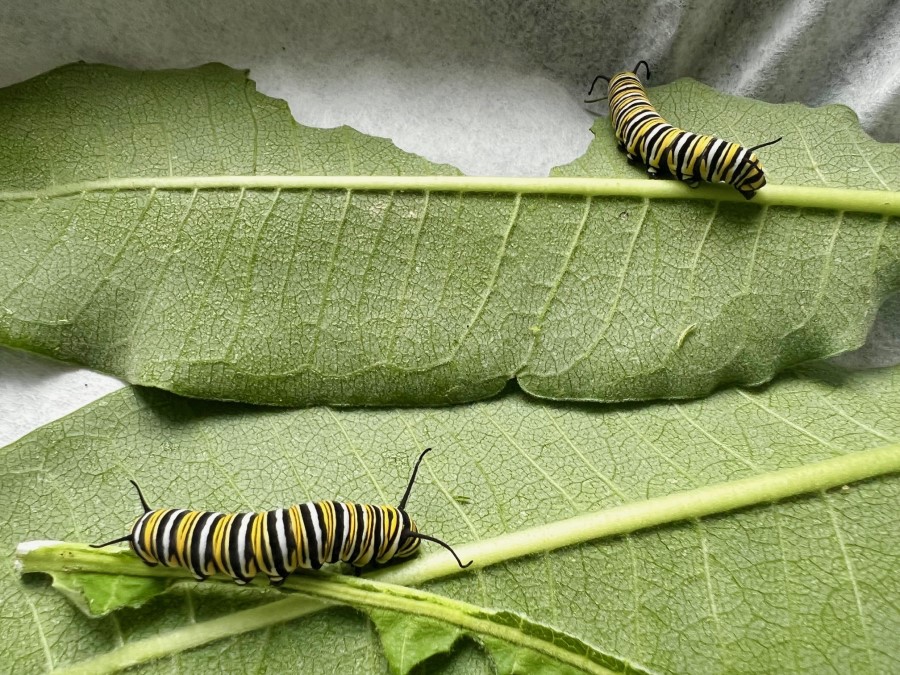
4th(?) instar cats bulldozing through milkweed leaves.
Coffee filters as poop collectors.
Rinsing both sides with room-temperature water.
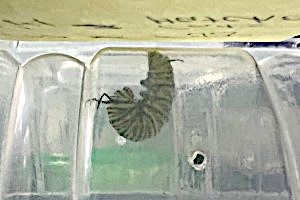
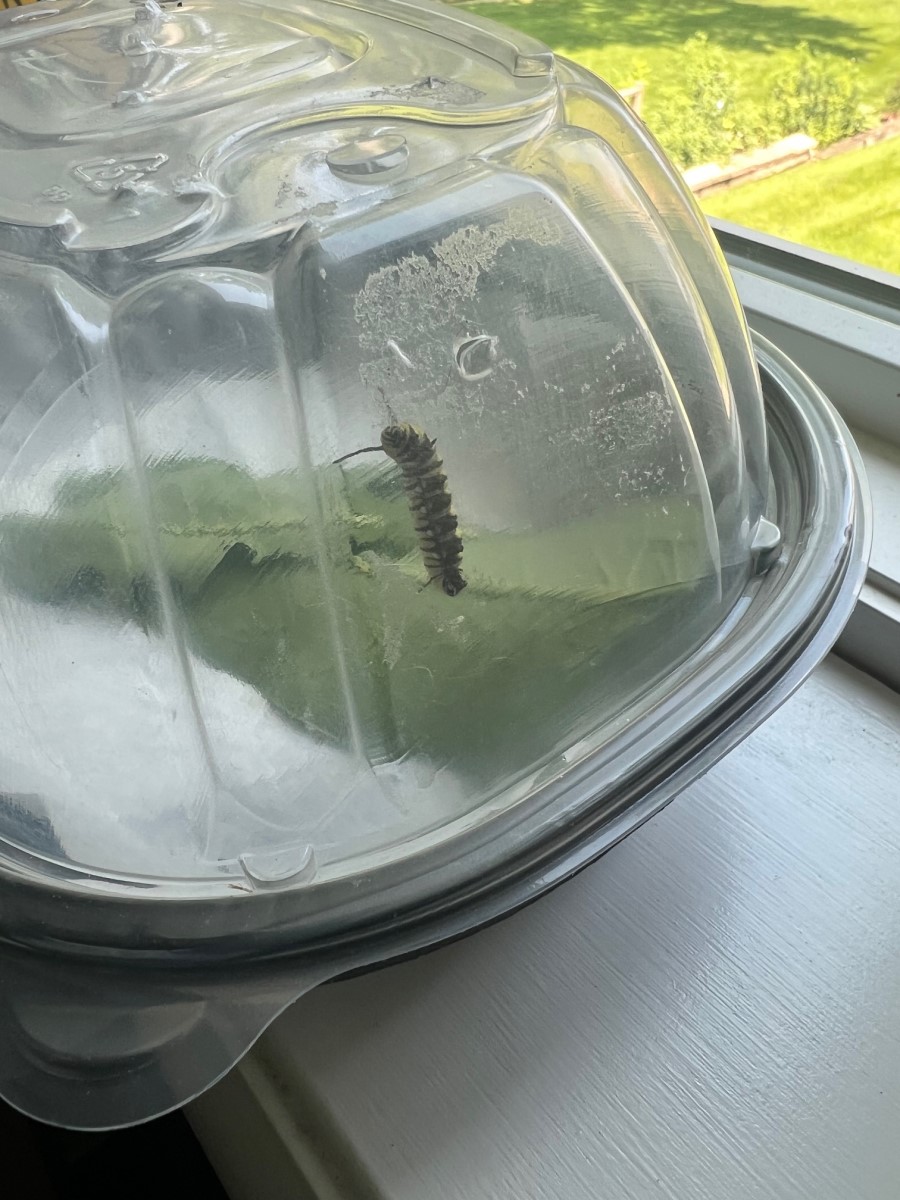
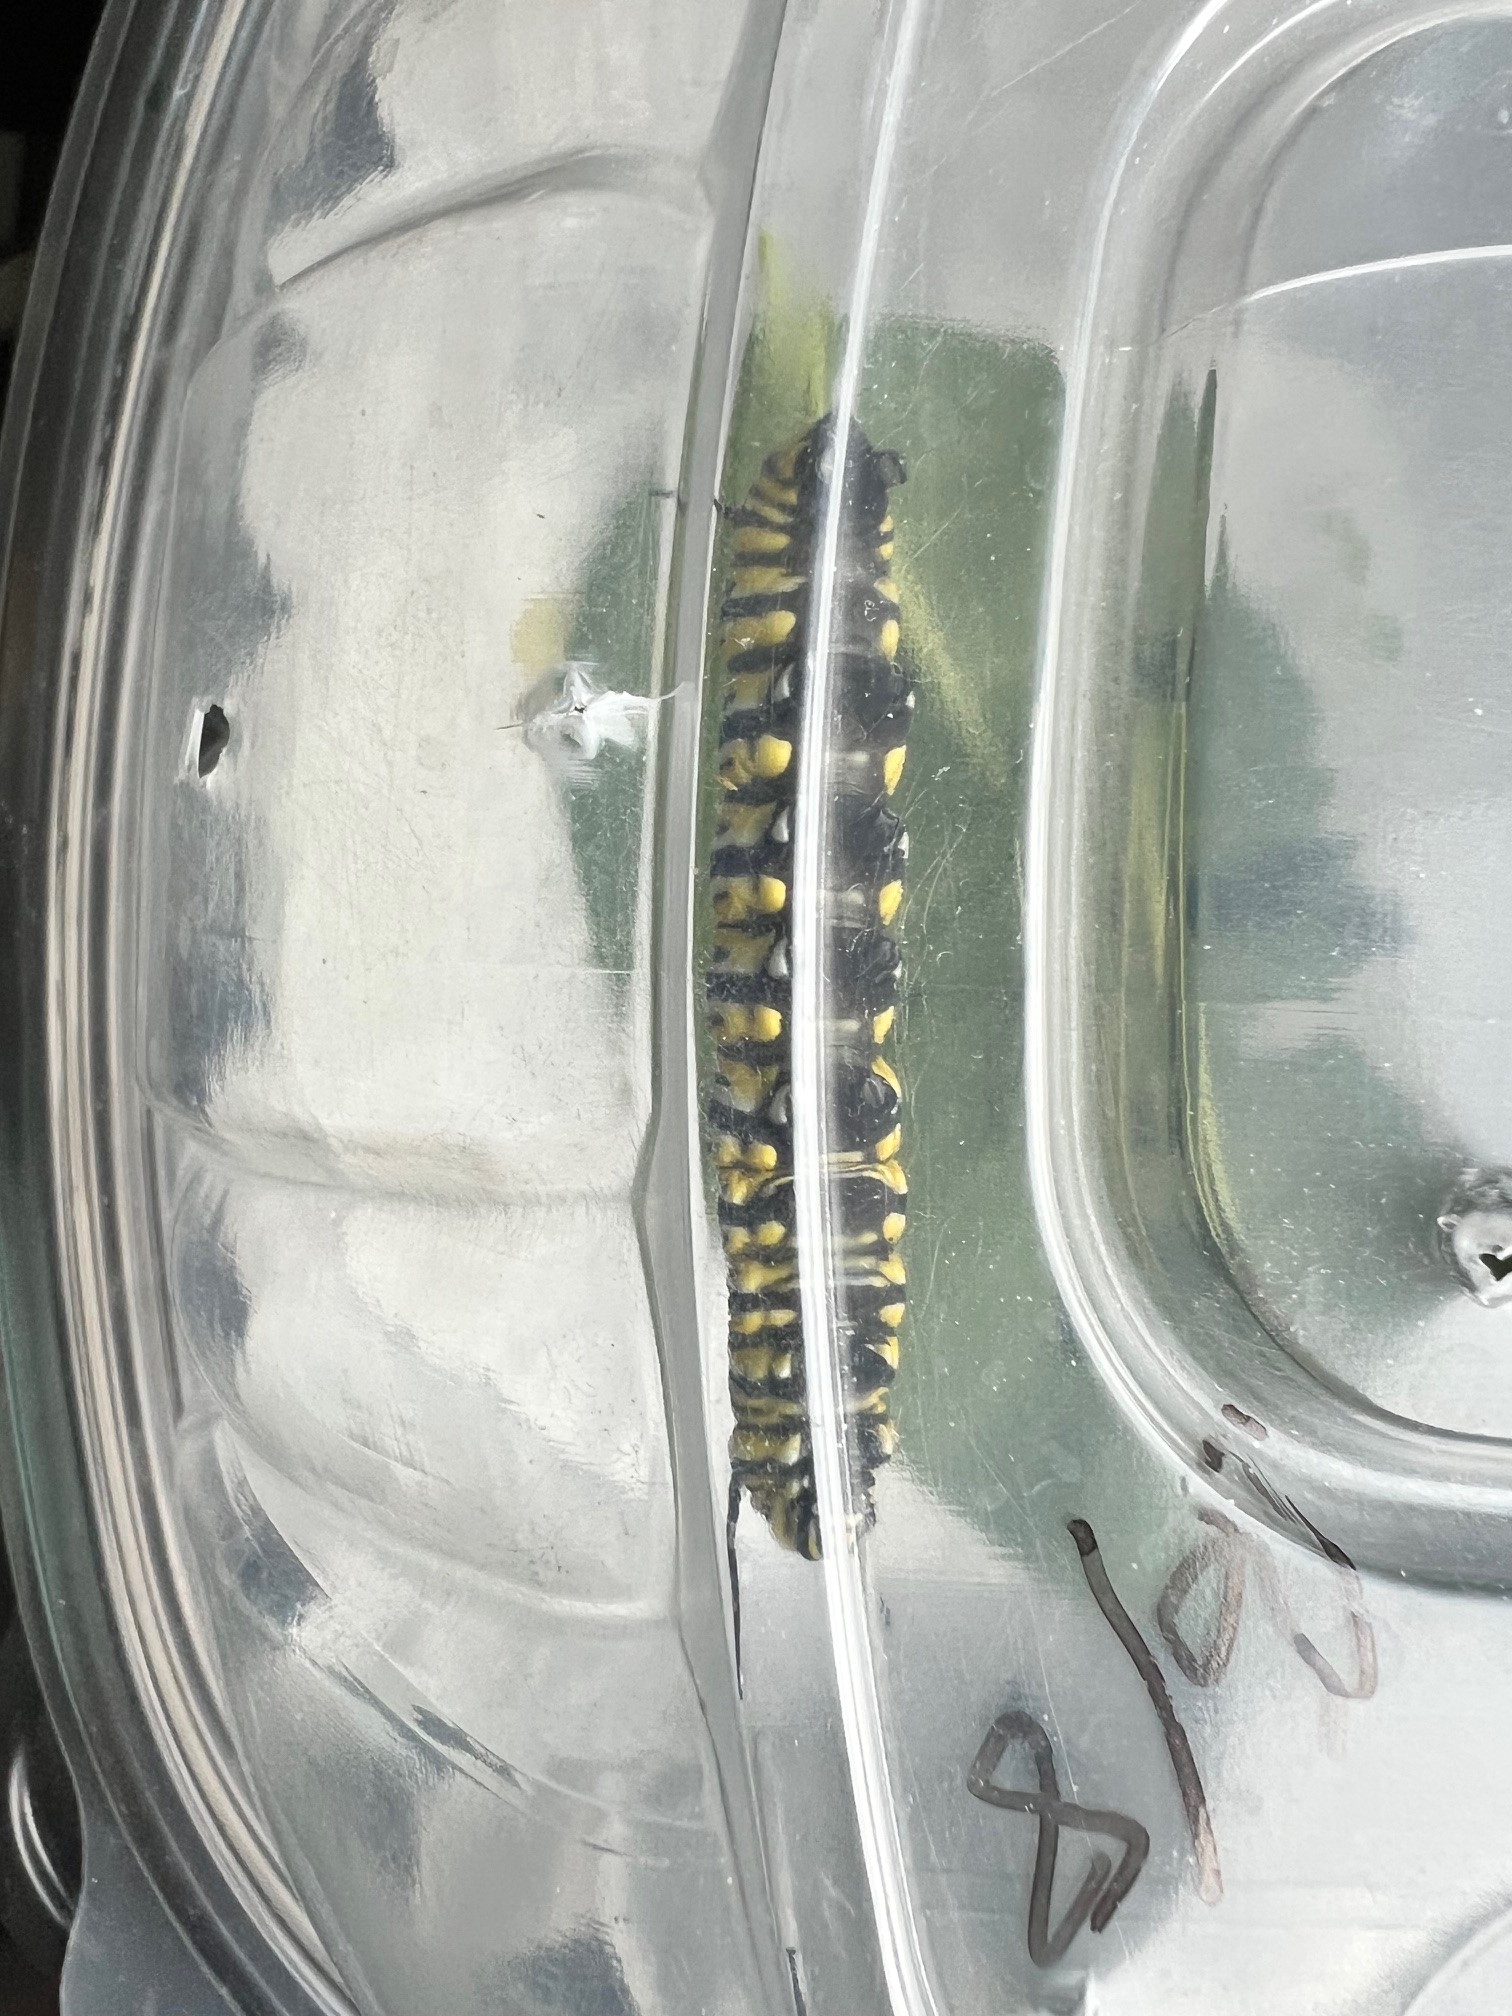
A cat resting on side of container.
Shedding the outer skin.
Now, back down to business.
Looking for that perfect spot.
Top of the container and ready to start spinning.
Caterpillar hanging head down in J-position.
Cat slowly begins to lose the J shape.
A fascinating tranformation begins.
The soft chrysalis stage after molting.